Home » Photoshop Tutorials » How to Make Something Look Gold in Photoshop
Sure, there are plenty of Quick Actions that you can download and use to make things gold in Photoshop, but personalizing your own gold effect is much cooler. Although it might seem complicated, it’s really not.
Making something look gold in Photoshop is all about manipulating the layers. Depending on what you’re going to make, there are different solutions.
In this tutorial, you will learn how to make an object look gold and how to create a gold text effect in Photoshop.
Let’s get started!
2 Methods to Make Something Look Gold in Photoshop
You can create a gold effect by playing with the layer adjustment and layer styles using the two methods below.
Note: The screenshots are taken from Adobe Photoshop CC 2021 Mac Version. Windows or other versions might look different.
1. Make Text Look Gold
Step 1: Create a new document and set the background color to Black.

Step 2: Select the Type Tool from the toolbar, and add text to your canvas. For better results, set your text color to white.
Step 3: Go to the Layers panel and add a layer style: Bevel & Emboss.
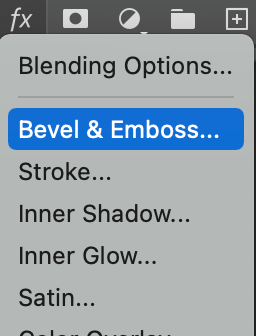
A Layer Style window will show. The main thing here is to choose two colors for the contour: Highlight Mode and Shadow Mode. For the rest of the setting, you can follow my example in the screenshot below.
Tips: You can take the color I use as a reference if you don’t know have two colors in mind. The two RGB color I use are: #f7ef8a and #ae8625. Check the Preview box to see how it looks.
Step 4: On the same Layer Style Window, add another blending option: Color Overlay. Choose a “background color” for the gold effect. The color I use is: #967642. Set the Opacity to 100%.
Step 5: Click OK and the gold effect will apply to the text.

You can also add texture to the text. Open the Layer Style window again, select Texture, and choose a texture (pattern) that you’ll want to add.
This is the texture I added.

2. Make an Object Look Gold
Tips: I do suggest you remove image background before the process of applying a gold effect.
For example, I’m going to make this perfume bottle look gold.
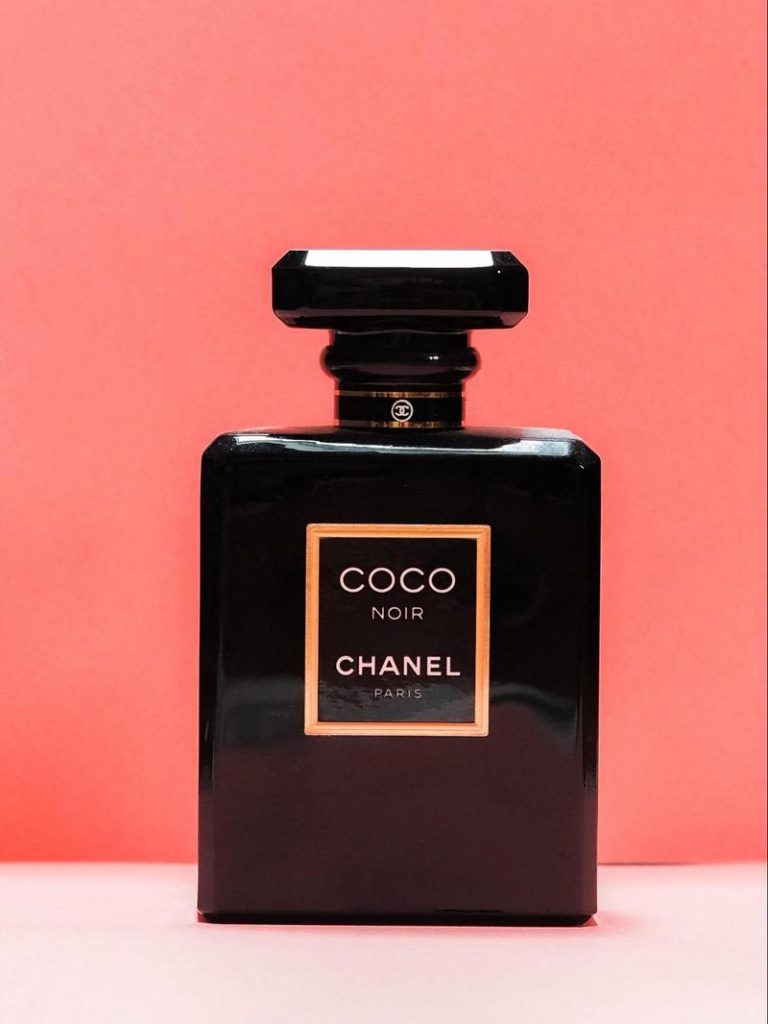
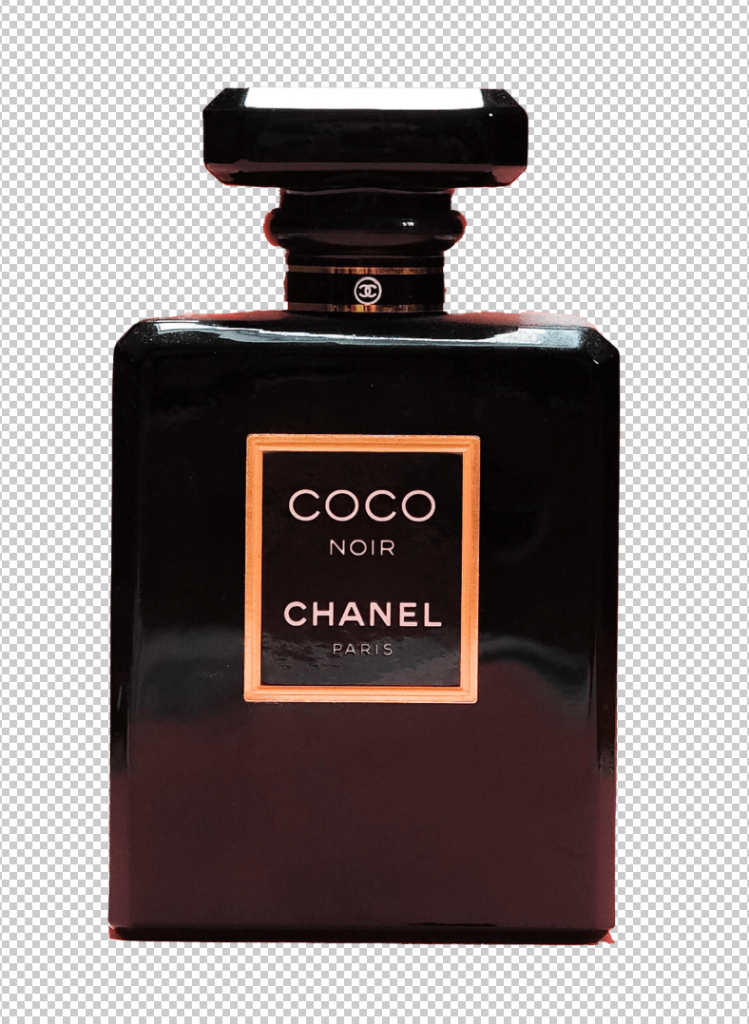
Step 1: Open the image in Photoshop and remove its background, so the background is transparent.
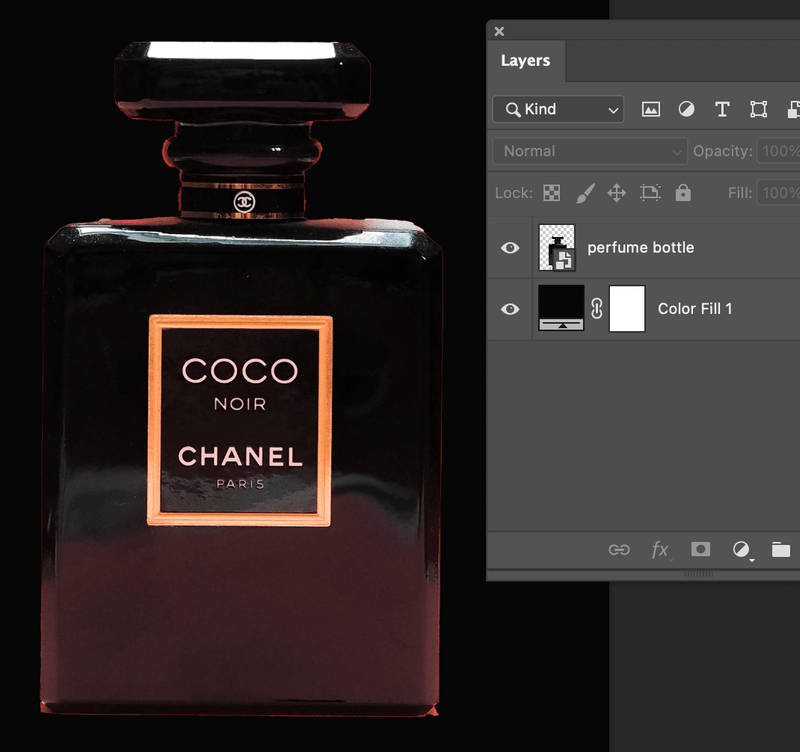
Step 2: Add a Solid Color (adjustment) layer, set the color to black, and drag the solid color layer under the image.
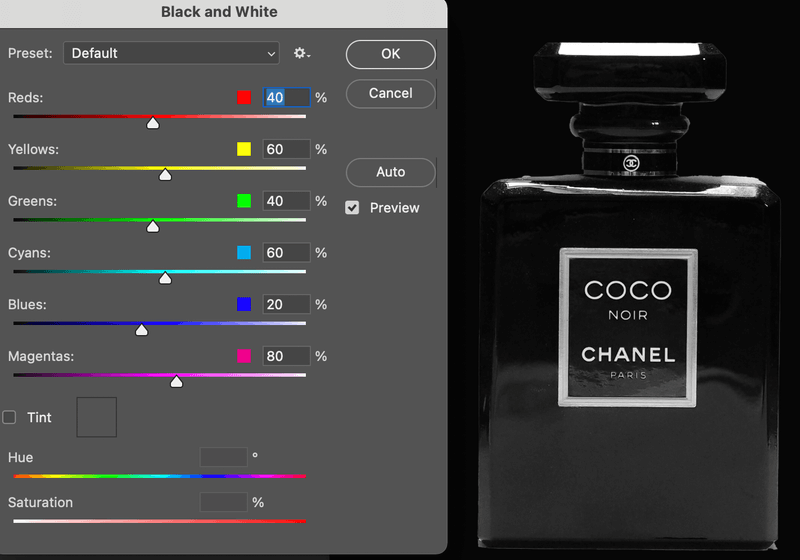
Step 3: Go to the top menu and select Image > Adjustment > Black & White. You can adjust the color value depending on your image, or simply click OK for now. You’ll probably need to adjust the lighting later anyways.
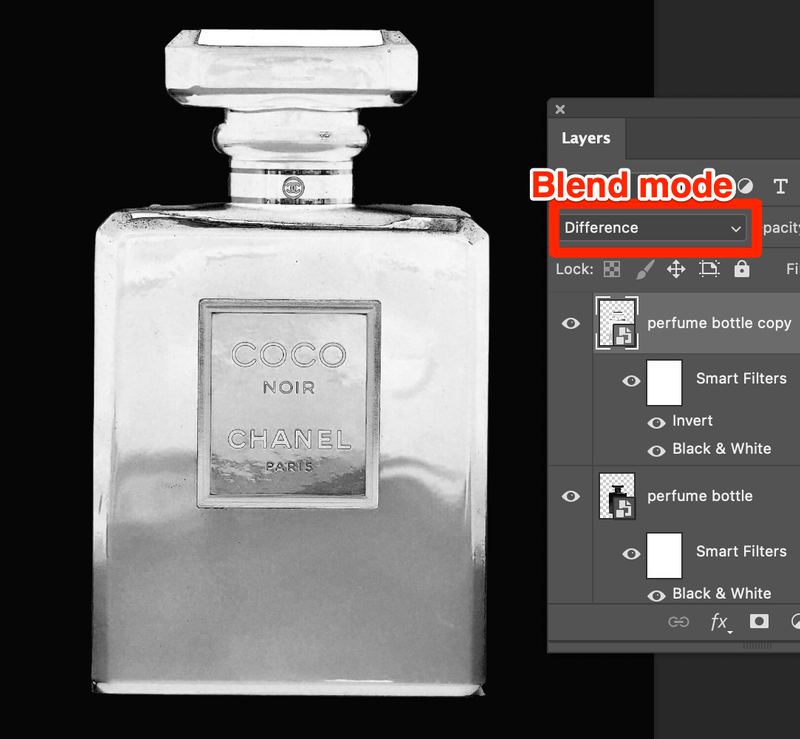
Step 4: Duplicate the layer by hitting Command/Ctrl + J on the keyboard.
Step 5: Go to the top menu again and select Image > Adjustments > Invert. Set the blend mode to Difference. You can already see a metallic-looking effect.
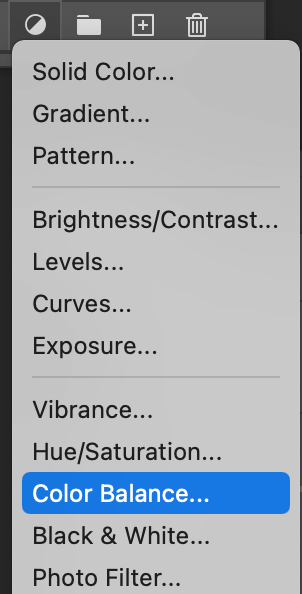
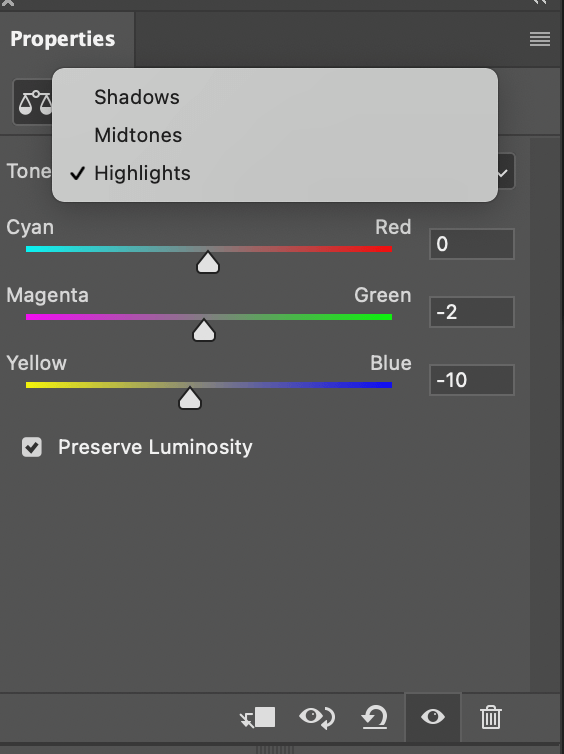
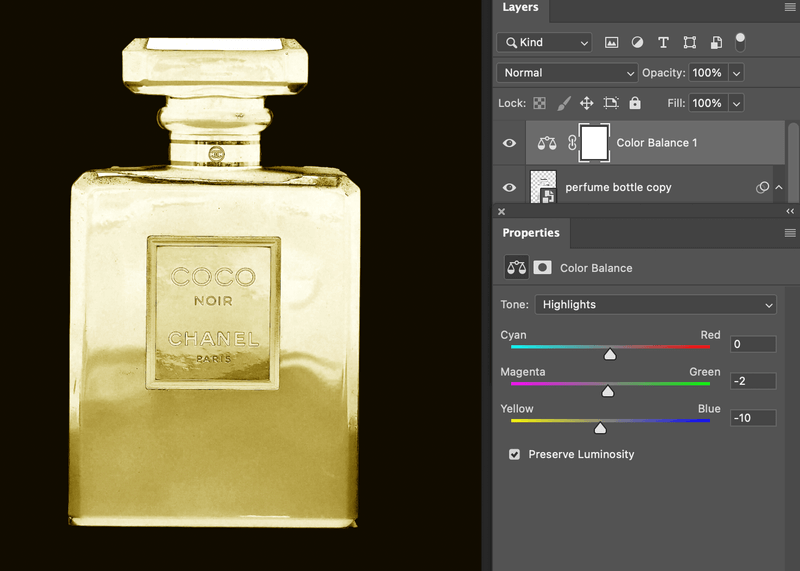
Step 6: Go to the Layers panel and add an adjustment layer. Select Color Balance.
Move the Yellow slider to the left end (or near the left end side), slightly adjust the other color balance.
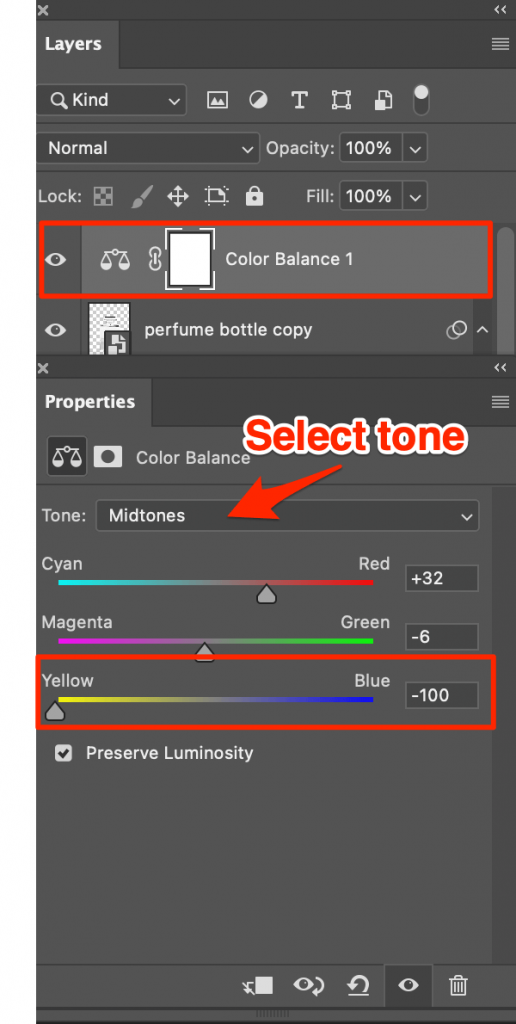
You can adjust Shadows, Midtones, and Highlights. Try to adjust all to get a better result.
Now you should see a gold effect. If you are happy with the look, you can leave it as it is.
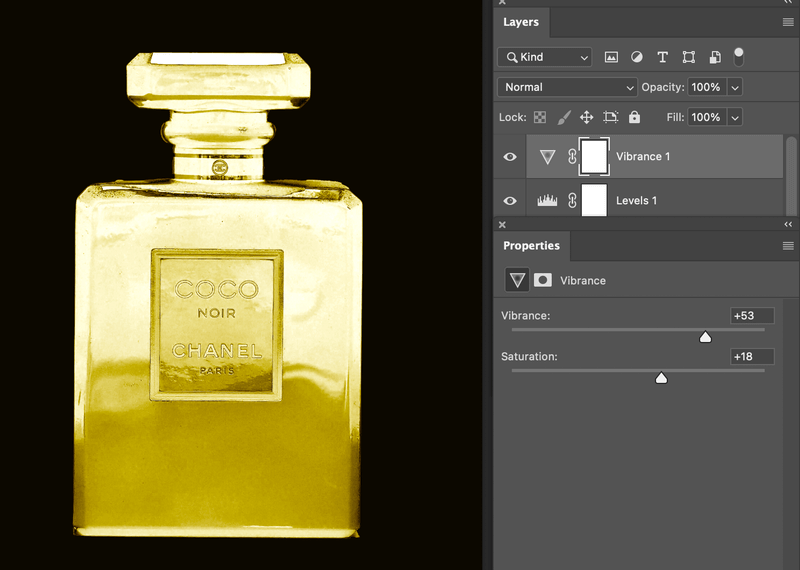
But I recommend adding a couple more adjustments like Levels and Vibrance because they will make the image look more natural.
Wrapping Up
If you are creating a gold effect for text from scratch, the most important thing is choosing two colors that create a nice gold shade. Turning a colorful image into a golden image is about manipulating colors and lightings.
About June