Your privacy is safe. I will never share your information.
You can also select your interests for free access to our premium training:
Related course:
Epic Landscape Editing
A transparent gradient in Photoshop is super useful for photographers and graphic designers.
You can use it to fade a photo into the background, for masking, and many other things.
In this article, I’ll show you how to create and modify a transparent gradient.
How to Create a Transparent Gradient in Photoshop
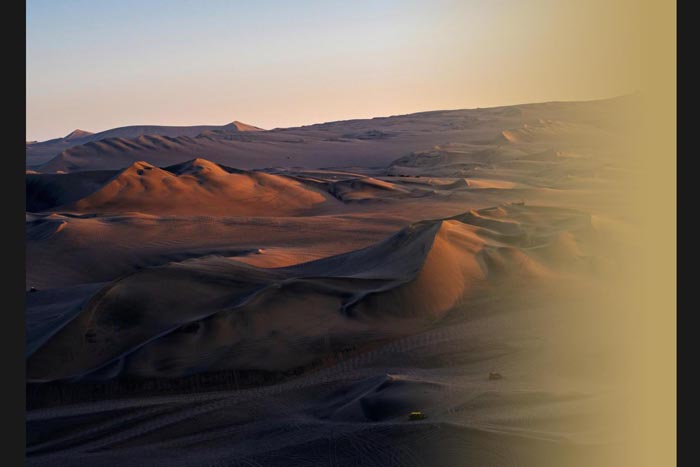
First, let’s fade a photo into the background using a transparent gradient.
Step 1: Add a New Layer
Open the photo you want to use in Photoshop.
Click on the “Create a new layer icon” in the Layers panel.
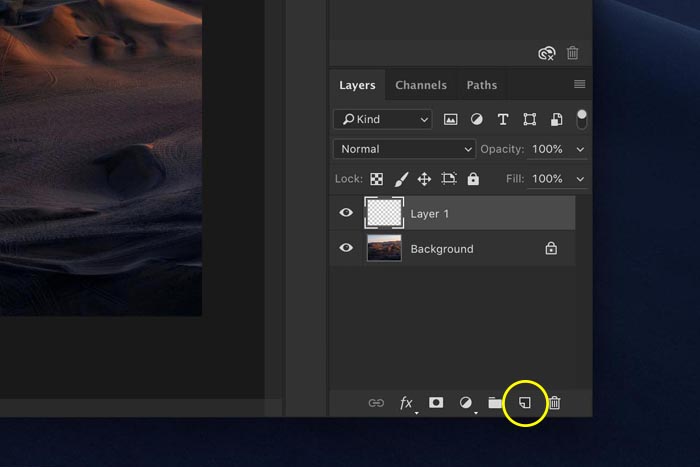
The new layer appears on top of the background layer. However, this layer will be our new background layer so we need to switch the position of both layers.
Double-click on the background layer to unlock it. Click OK. Now, click and drag the new layer all the way down so it becomes the background.
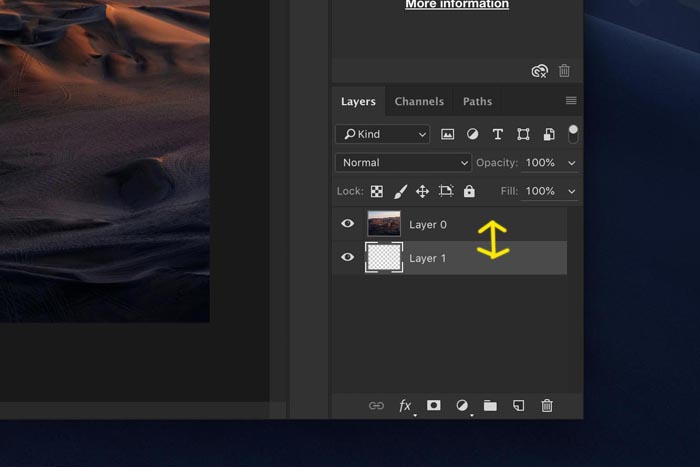
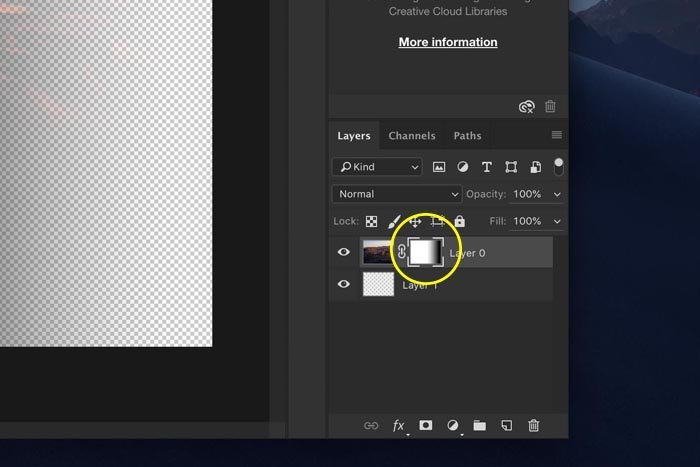
Step 2: Add a Layer Mask
Select the layer that contains the photo.
Click on the “Add layer mask” icon in the Layers panel.
A mask thumbnail appears next to the layer thumbnail. The white colour means that the entire layer is visible. If we would paint with black over the photo while the mask thumbnail is selected, those areas would disappear.
Paint with white and they would reappear again.
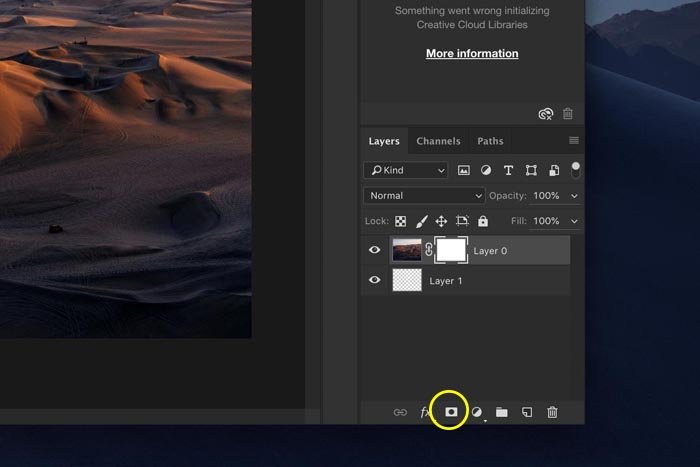
Step 3: Add a Transparent Gradient
But instead of painting, we’ll add a transparent gradient to achieve a smooth and straight transition between transparency and photo.
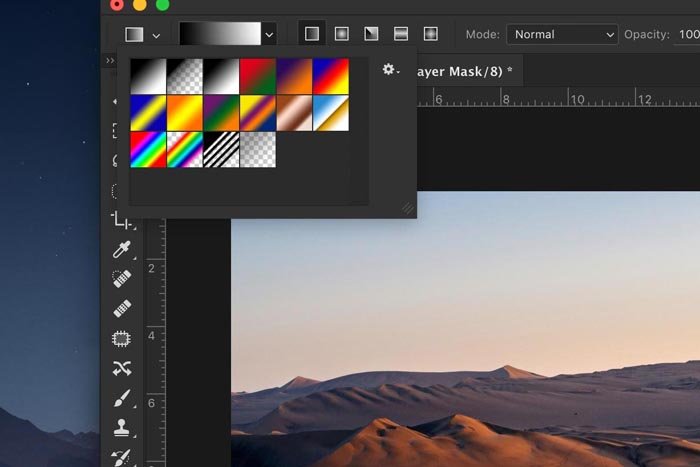
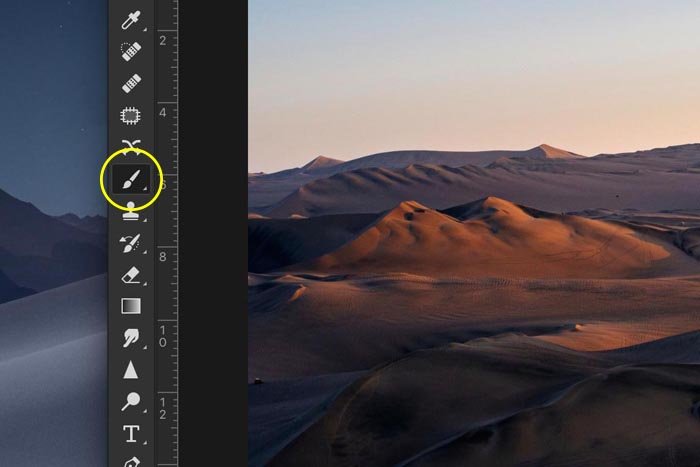
Select the gradient tool from the toolbar on the left.
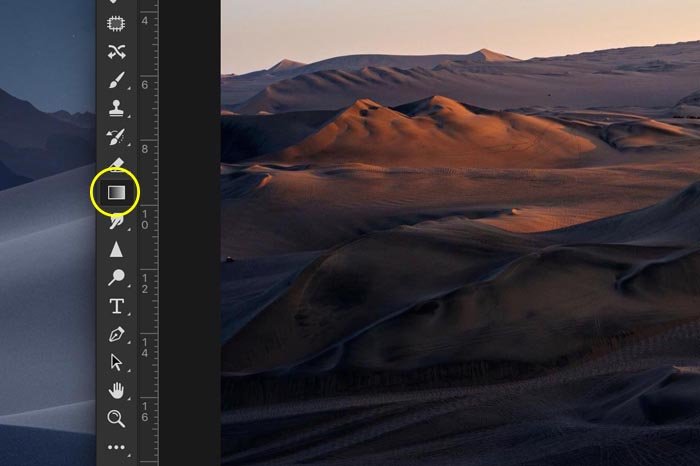
In the top menu, select the black and white gradient.
Make sure that the mask thumbnail is selected.
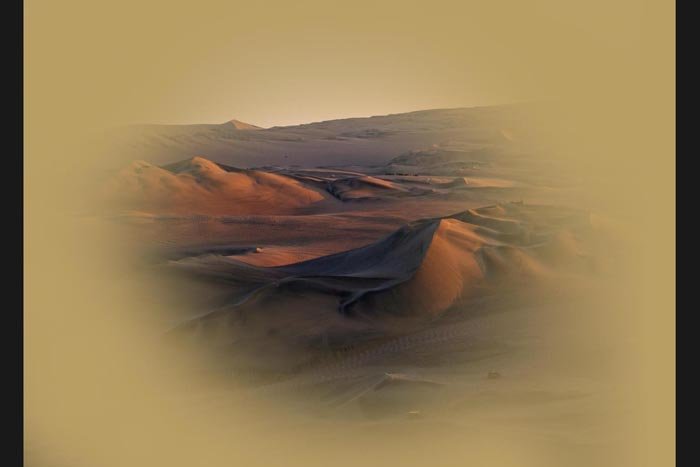
Click on either side of the photo and drag the cursor over the photo towards the middle. Let go halfway over the photo.
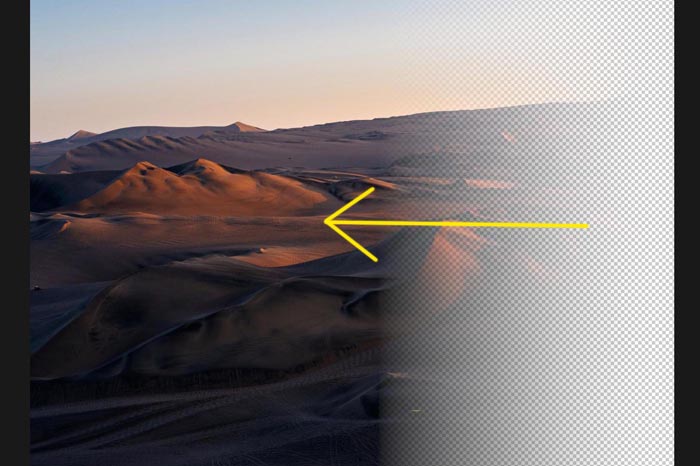
Part of the photo turns transparent. If you don’t like the result, hit Cmd + Z (Ctrl + Z for windows) to undo and reapply the gradient. You can also just fill the layer mask with white again.
Step 4: Fill the Background Layer
Select the Paint Bucket tool from the toolbar on the left. Double-click on the foreground color icon to open the Color Picker and select any color.
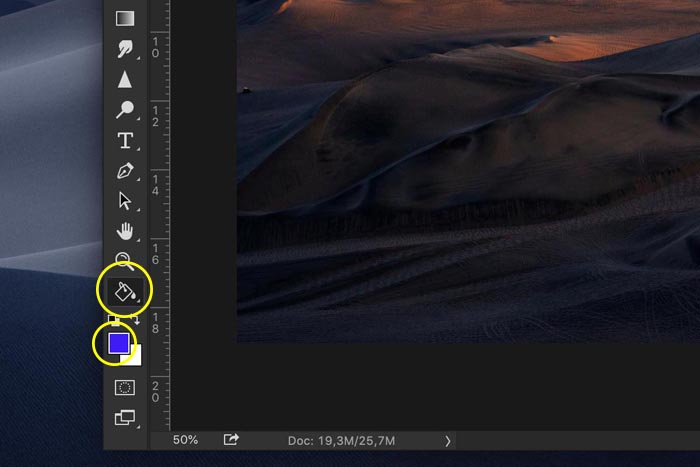
Make sure the background layer is selected and fill it with the color you’ve picked.
And that’s a super-easy way to fade a photo into the background in Photoshop.
But it doesn’t have to be a solid color. You can also pick another photo as the background for example. Just drag another photo onto your workspace below the transparent layer.
How to Customize a Transparent Gradient in Photoshop
Because we’ve used a layer mask to add the transparent gradient, we can change it any time however we want. With the Paint Brush tool for example.
Make sure to select the layer mask thumbnail. Select the Paint Brush tool and set the color to black.
Start painting over the photo. The more you paint, the more of the photo will become transparent.
To make parts of the photo solid again, paint with white.
Conclusion
A transparent gradient is easy to create and has many purposes. Use layer masks to blend different adjustment layers or even photos together.
With this technique, you can create your own double-exposure photos or fade to a solid color to add text.