MongoDB is an open-source document-oriented database that is designed to store a large scale of data and also allows you to work with that data very efficiently. It is categorized under the NoSQL(Not only SQL) database because the storage and retrieval of data in MongoDB are not in the form of tables. This is the general introduction of MongoDB now we learn how to install MongoDB on your Windows?.
You can install MongoDB using two different methods one is using msi and another is using zip. Here, we will discuss how to install MongoDB using msi, so you need to follow each step carefully:
Step 1: Go to MongoDB Download Center to download MongoDB Community Server.
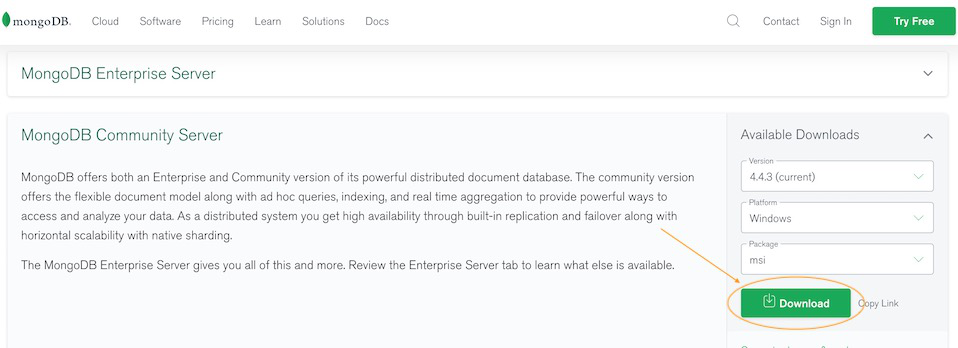
Here, You can select any version, Windows, and package according to your requirement. For Windows, we need to choose:
- Version: 4.2.2
- OS: WindowsOS
- Package: msi
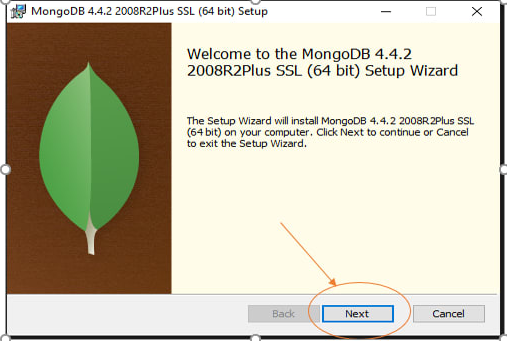
Step 2: When the download is complete open the msi file and click the next button in the startup screen:
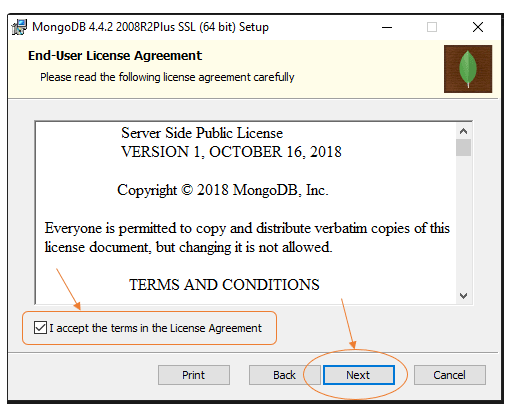
Step 3: Now accept the End-User License Agreement and click the next button:
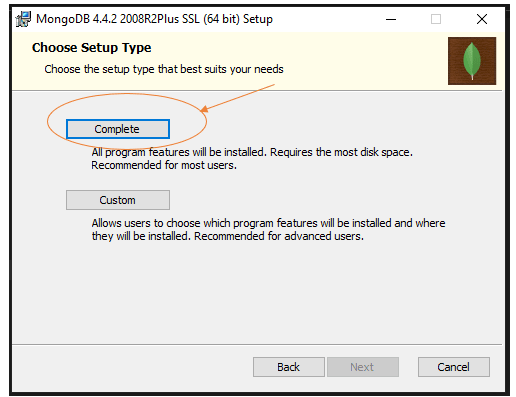
Step 4: Now select the complete option to install all the program features. Here, if you can want to install only selected program features and want to select the location of the installation, then use the Custom option:
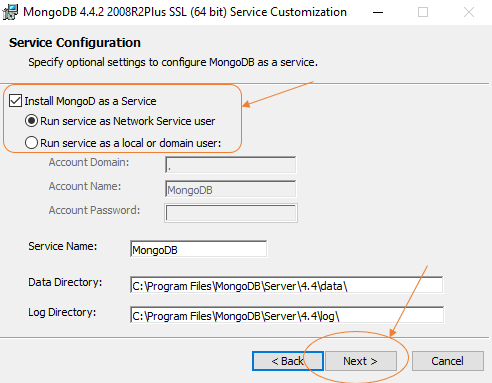
Step 5: Select “Run service as Network Service user” and copy the path of the data directory. Click Next:
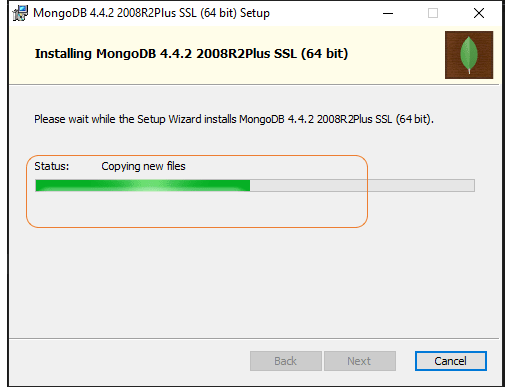
Step 6: Click the Install button to start the installation process:

Step 7: After clicking on the install button installation of MongoDB begins:
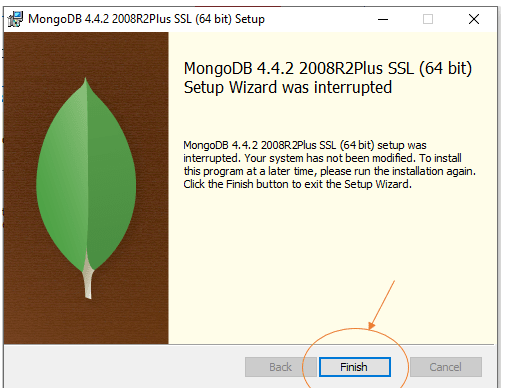
Step 8: Now click the Finish button to complete the installation process:
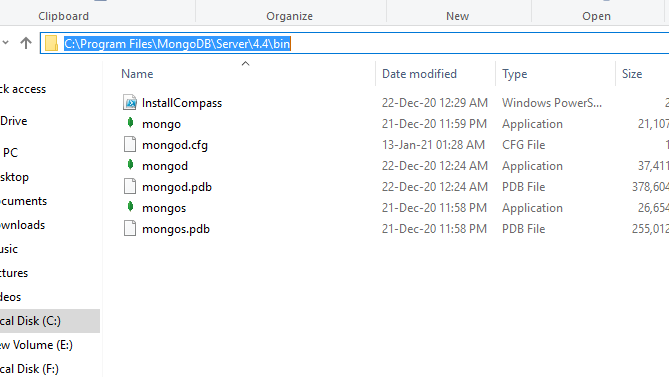
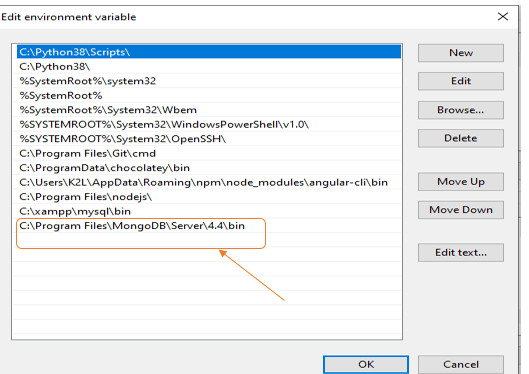
Step 9: Now we go to the location where MongoDB installed in step 5 in your system and copy the bin path:
Step 10: Now, to create an environment variable open system properties << Environment Variable << System variable << path << Edit Environment variable and paste the copied link to your environment system and click Ok:
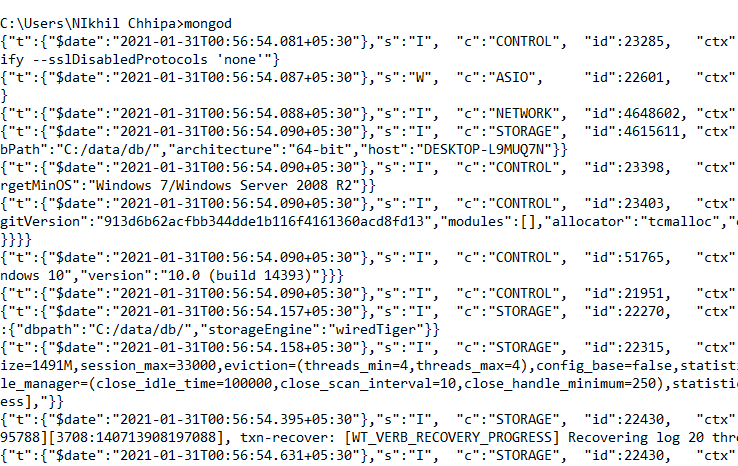
Step 11: After setting the environment variable, we will run the MongoDB server, i.e. mongod. So, open the command prompt and run the following command:
mongod
When you run this command you will get an error i.e. C:/data/db/ not found.
Step 12: Now, Open C drive and create a folder named “data” inside this folder create another folder named “db”. After creating these folders. Again open the command prompt and run the following command:
mongod
Now, this time the MongoDB server(i.e., mongod) will run successfully.
Run mongo Shell
Step 13: Now we are going to connect our server (mongod) with the mongo shell. So, keep that mongod window and open a new command prompt window and write mongo. Now, our mongo shell will successfully connect to the mongod.
Important Point: Please do not close the mongod window if you close this window your server will stop working and it will not able to connect with the mongo shell.
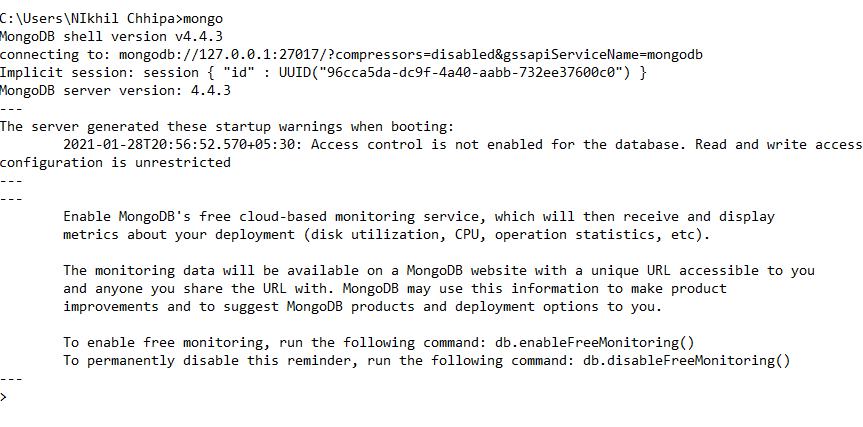
Now, you are ready to write queries in the mongo Shell.
Example:
Now you can make a new database, collections, and documents in your shell. Below is an example of how to make a new database:
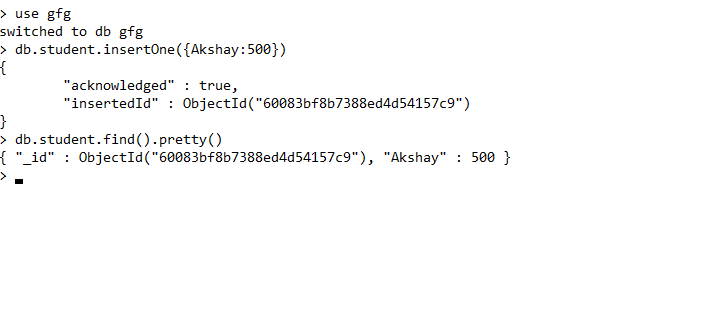
The use Database_name command makes a new database in the system if it does not exist, if the database exists it uses that database:
use gfg
Now your database is ready of name gfg.
The db.Collection_name command makes a new collection in the gfg database and the insertOne() method inserts the document in the student collection:
db.student.insertOne({Akshay:500})
My Personal Notes
arrow_drop_up