Create a Facebook App ID for social sharing element
Setting up a Facebook App ID for Using Facebook Share Buttons in the Live Editor
Estimated time to complete: 10 minutes
This guide will show you how to setup a Facebook App ID which is required if you wish to use the Facebook Social Sharing buttons.
You will need your own Facebook account in order to create the Facebook App ID so ensure that you have created a free account by going to http://www.Facebook.com first before starting this guide.
Please note that if you have already gone through this process for adding Facebook comments to your pages then you do not need to do this again so long as you have the Facebook app ID and the App Secret in the OptimizePress settings (See Step 12 below).
Step 1: Login to Facebook and go to developers site.
Ensure you are logged into your Facebook account and go https://developers.facebook.com/
Step 2: Click on Apps > Register as a Developer.
On the Developers site, click on the “Apps” link at the top of the page and then click on “Register as a Developer”:

Step 3: Accept the terms and conditions in the popup.
Ensure you are comfortable with the policies of using Facebook Apps and select Yes if you are ready:

Step 4: Verify Your Account.
You need to verify your account by providing a Phone number to receive a text to confirm you are the account holder. Follow the steps in the box to complete this process.
*This step may not show for you if you have previously verified your account*.

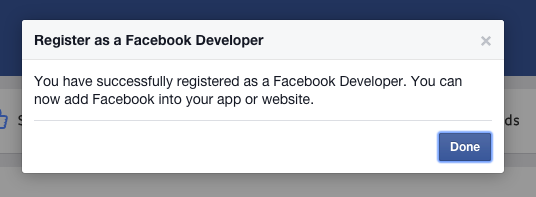
Step 5: Confirmation of registration
You should now receive confirmation you are registered as a developer. Click Done to exit this process.
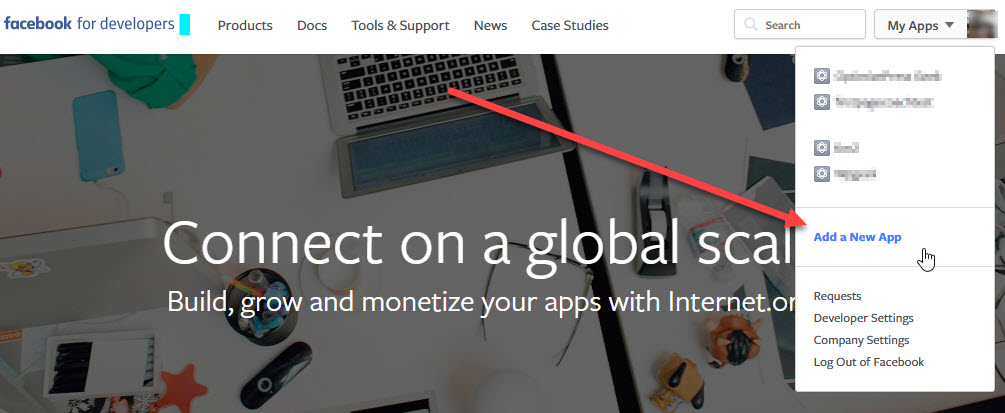
Step 6: Create a new App.
To create a new App, click on ” My Apps” in the opt right side of the Facebook Developers portal, and then choose “Add a New App“.
Step 7: Enter a name & Category for your app.
On the “Create a New App ID” screen, you need to specify a name, email, & Category for your app. We recommend using the name of your website with no spaces. So for our sample domain optimizetheme.com, we would use “optimizetheme” as the app name.
This allows you to easily recognize your different apps as you create more for different websites in the future.

Once you have entered this information, click “Create App ID”.
Step 8: Load the app for editing.
Once you have created your app, you now need to modify one setting within the app. To do this, go back to http://www.facebook.com/developers
Click on “Apps” at the top of the page and you should see your app listed in the dropdown. If you see it listed, you created your app correctly (great work!).
Click your app name to load it for editing.

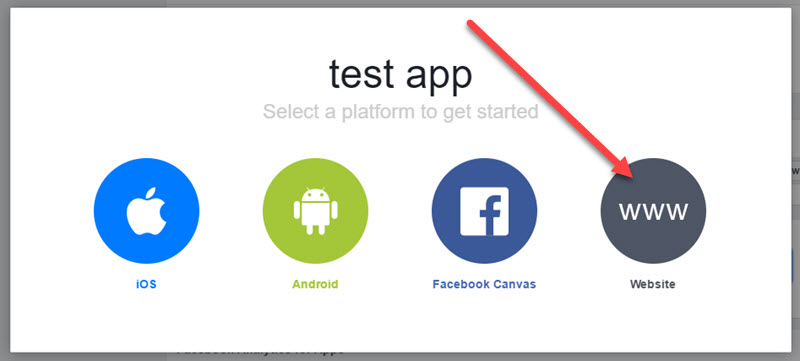
Step 9: Choose Platform.
In step 8 we loaded the app for editing. We need to specify the domain where your app will be used. On the Dashboard for your app, click on “Choose Platform”.

Then, on the next screen we’ll need to click on the “WWW” icon for “Website”.
After you do that you’ll only need to enter your URL on the next screen and then click the “Next” button:

After you click that, just scroll back to the top of your screen and proceed to the next step:
Step 10: Add your App Domain.
We need to specify the domain where your app will be used. On the Dashboard for your app, click on “Settings” on the left side menu.

Now on the settings page we need to enter the domain where your app will be used.
You should enter your domain without the www – all you should enter is the main domain and the extension. So for example for our sample domain http://www.optimizetheme.com we would enter:
optimizetheme.com
Ensure you DO NOT have any other characters before or after the domain.
Once you have entered this, click “Save Changes”.

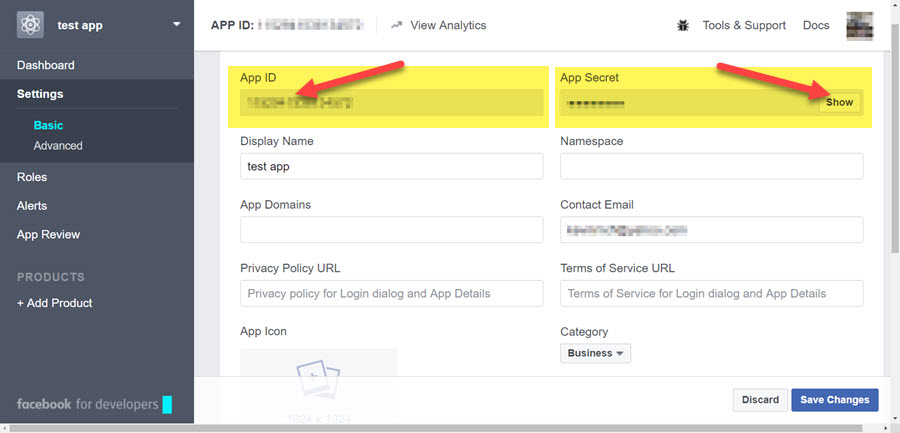
Step 11: Copy your App ID & App Secret Key from Facebook.
Your app is now fully setup. We now need to integrate this into your OptimizePress website.
First you need to copy your App ID from Facebook. At the top of your Settings page or the Dashboard for your App you should see the App ID number. Copy this number to a text document or to your computer clipboard (the easiest way to do this is to highlight the number and right-click your mouse and select “Copy”
You will also need your App Secret as well so we can show share counts in the “Social Sharing” element:
Step 12: Add the App ID & App Secret to the OptimizePress options.
Now head over to your OptimizePress site dashboard and go to OptimizePress > Dashboard > Social Integration > and paste in your App ID & App Secret:
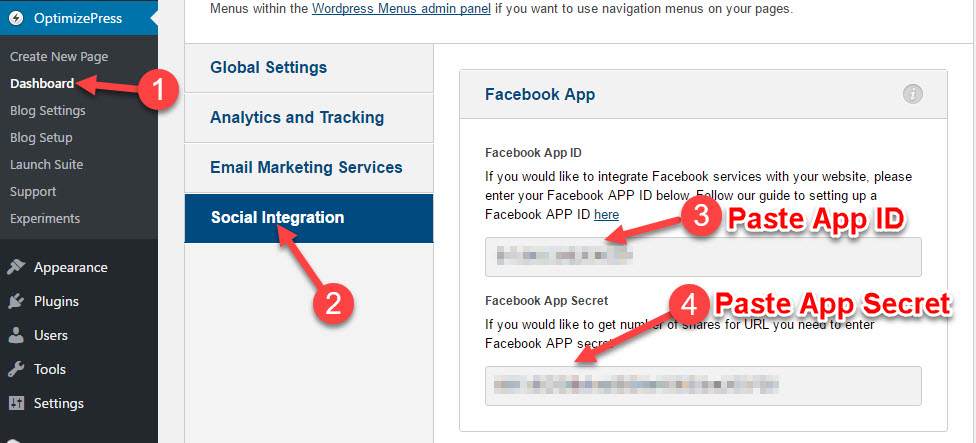
Click Save Settings when you are done:

You have now completed the main Facebook App ID integration process!
The final step is to add “Social Sharing” element to one of your pages.