Using a pattern for your text is actually one of the easiest ways to stylize text in Photoshop. For example, the Creating a Webstore logo that I’m using right now actually uses a pattern as you can see below:

Of course you can use any type of pattern for your text and you can even add additional styles to your text such as contours, textures, outlines and more. In this tutorial I show you how to do all of this in Photoshop CC but the same steps can be taken for Photoshop CS6 and older versions.
Define your pattern:
Open up the image that you’d like to use with Photoshop.
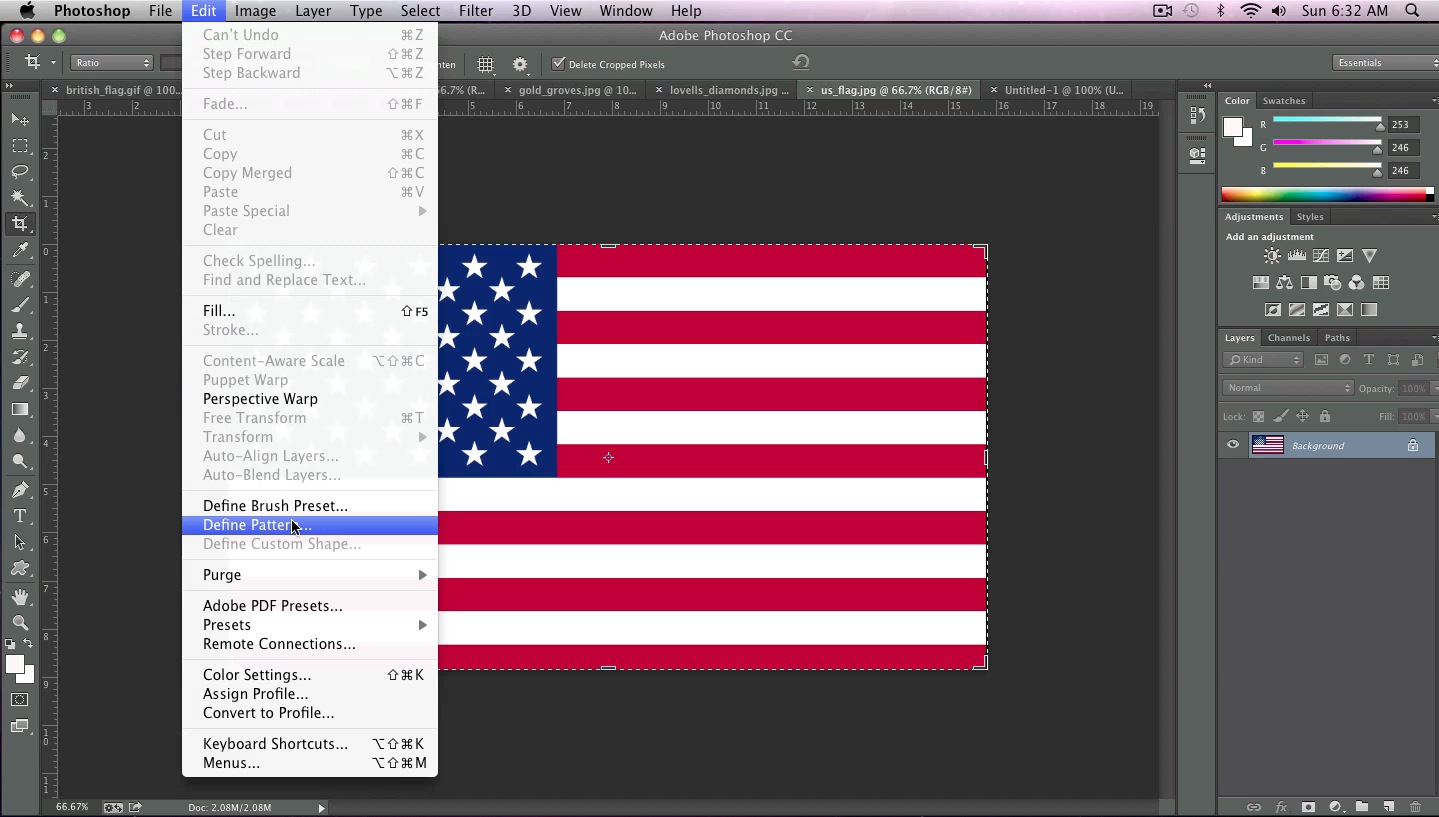
Then go to “edit > define pattern” as shown in the image below:
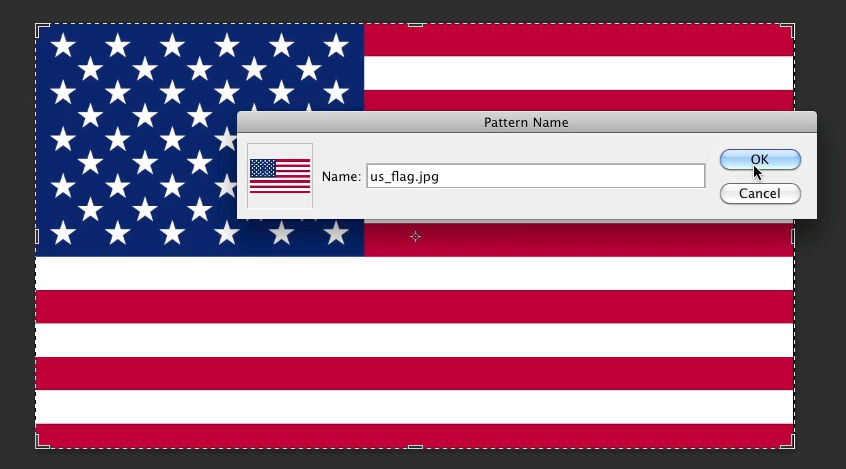
Next you will need to give your pattern a name. You can use the default name or add your own and click the “ok” button.
Use your pattern:
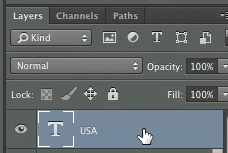
After you’ve defined your pattern, you can use it on your text by simply double clicking on the text layer in your layers window as shown below:
In the “styles” column tick off “pattern overlay” and then click the drop down arrow in the pattern window as shown below:
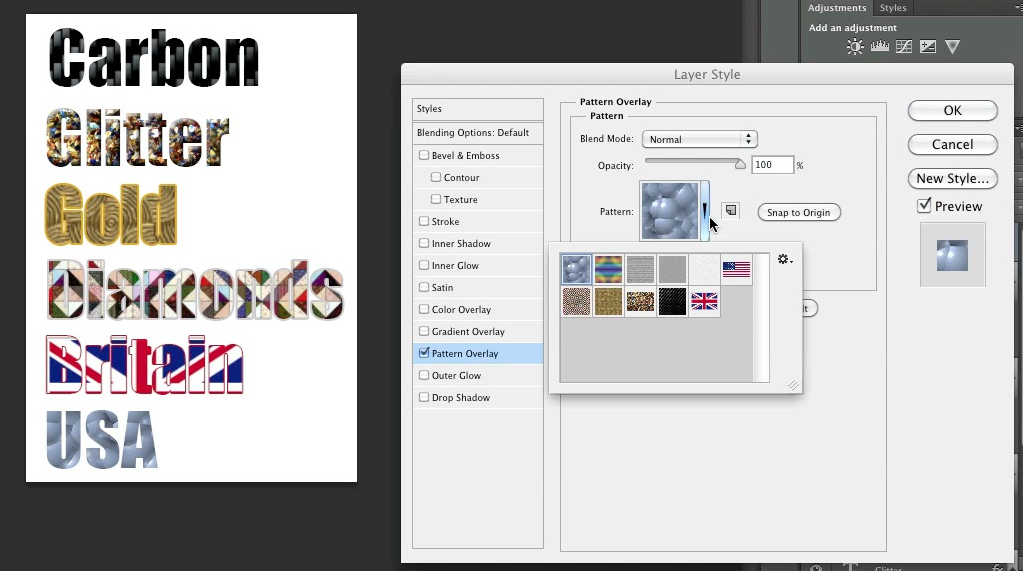
Then simply select your new patter by clicking on it in the selection window as shown below:
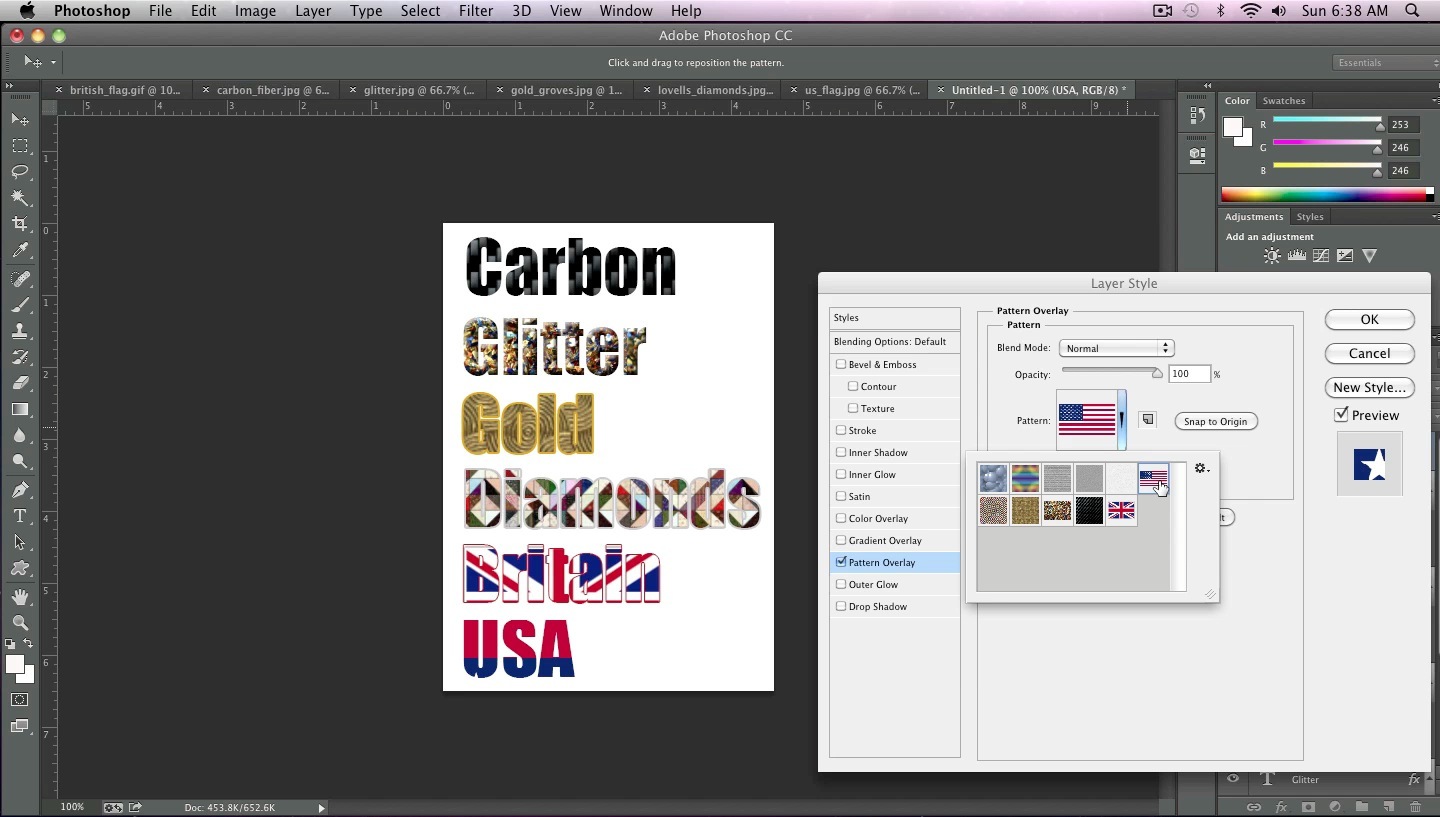
Position your pattern as you’d like. You can play around with all the different options. For example, I used “snap to origin” to position the text as shown below:
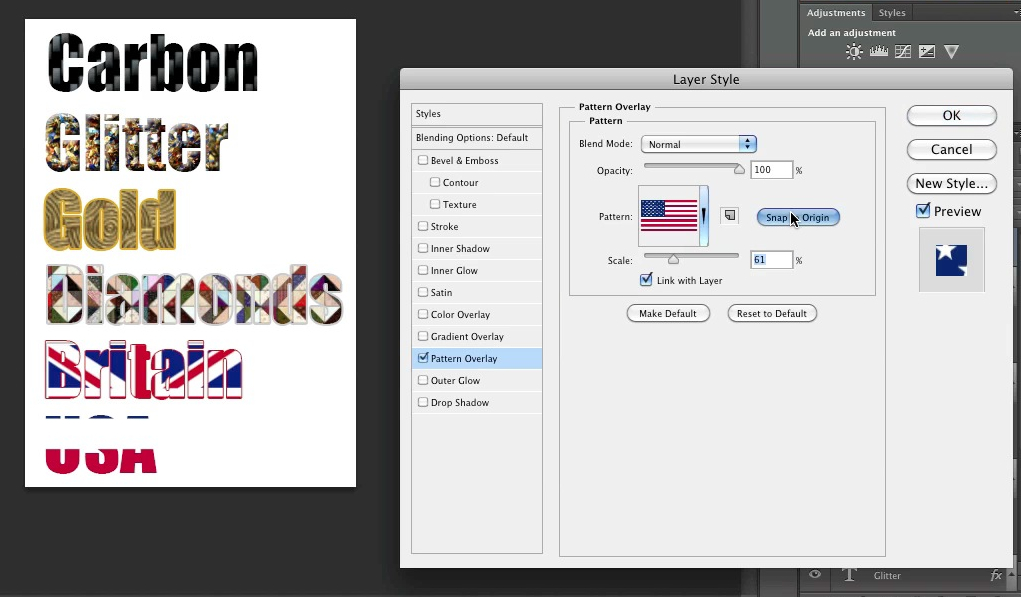
I then scaled it down as shown below so that it looks like a real flag:
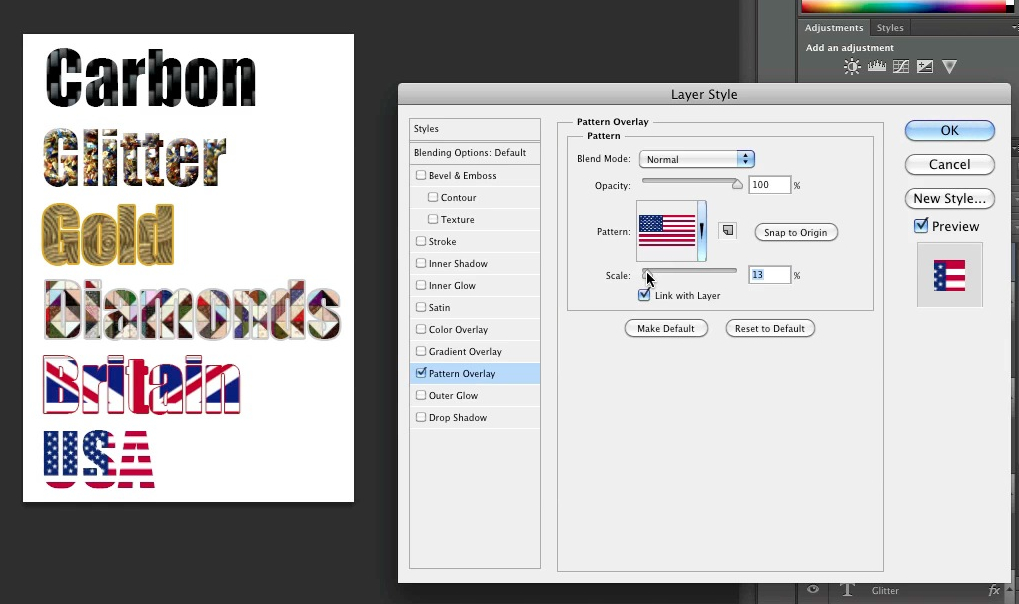
Below you can watch my video to see how I did all this step by step. In the video, I used the following patterns:
-
Carbon fiber
-
Glitter
-
Gold
-
Diamonds
-
British Flag
-
US flag
Can’t view the video? Watch it on YouTube
Images that I used:

Carbon fiber courtesy of Brett Jordan on Flickr.

Glitter courtesy of Eve Paloma on Flickr.

Groovy! courtesy of Filter Forge on Flickr.
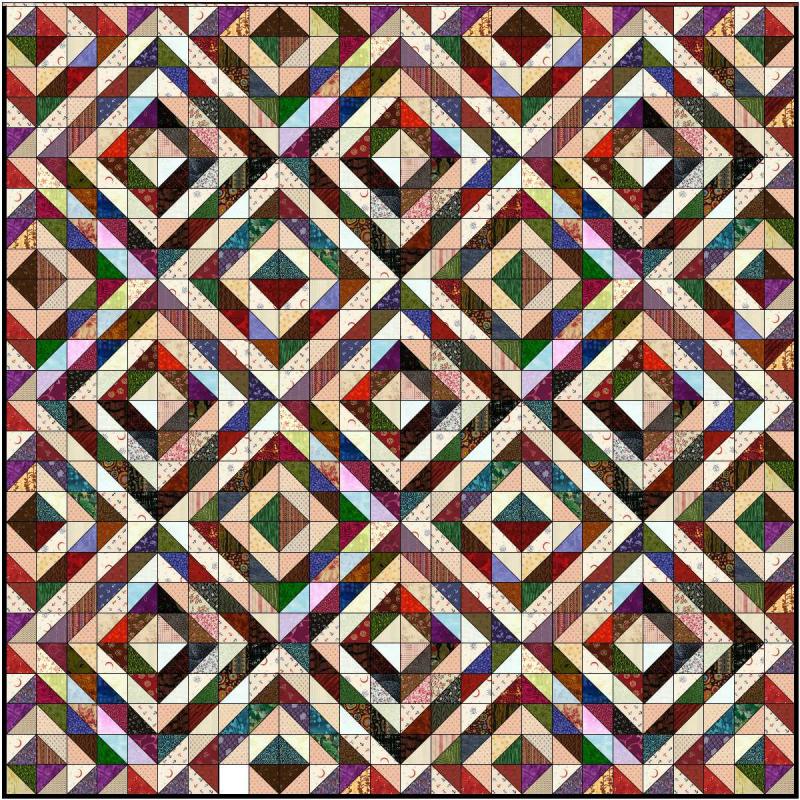
Lovells Diamonds courtesy of Lovells Loose Threads on Flickr.

British flag courtesy of Kevin Patrick2 on Flickr.

American flag courtesy of Beverly & Pack on Flickr.