Knowing how to zoom in and out in Photoshop is essential to edit images more precisely. The zoom function allows you to get closer to each pixel to make sure your edits are correct. Here is all you need to know of how to zoom in and out in Photoshop plus extra document navigation tips.
To quickly zoom in or out a document in Photoshop, press Command + +/- (Mac) or Control + +/- (Windows) on your keyboard. While zoomed in, you can navigate around your document by holding the space bar while clicking and dragging to move the entire document in view.
Although this is the most basic, there are multiple other ways to use the zoom function and each method has its own benefits. The method you use will likely change based on your project. Knowing each way of zooming allows you to choose the right method of what you need to achieve at the time.
Once you can zoom, it is also helpful to know how to easily navigate the document to move to other areas of the image, which I’ll touch on later in this tutorial. For now, let’s get into the best ways to zoom in in Photoshop!
Tóm Tắt
How To Zoom In Photoshop
1. The Zoom Tool
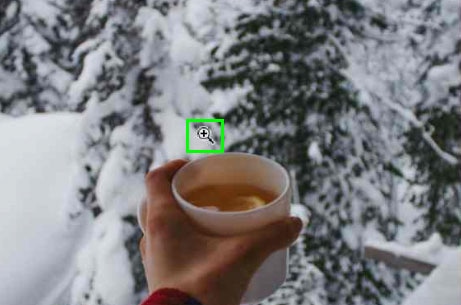
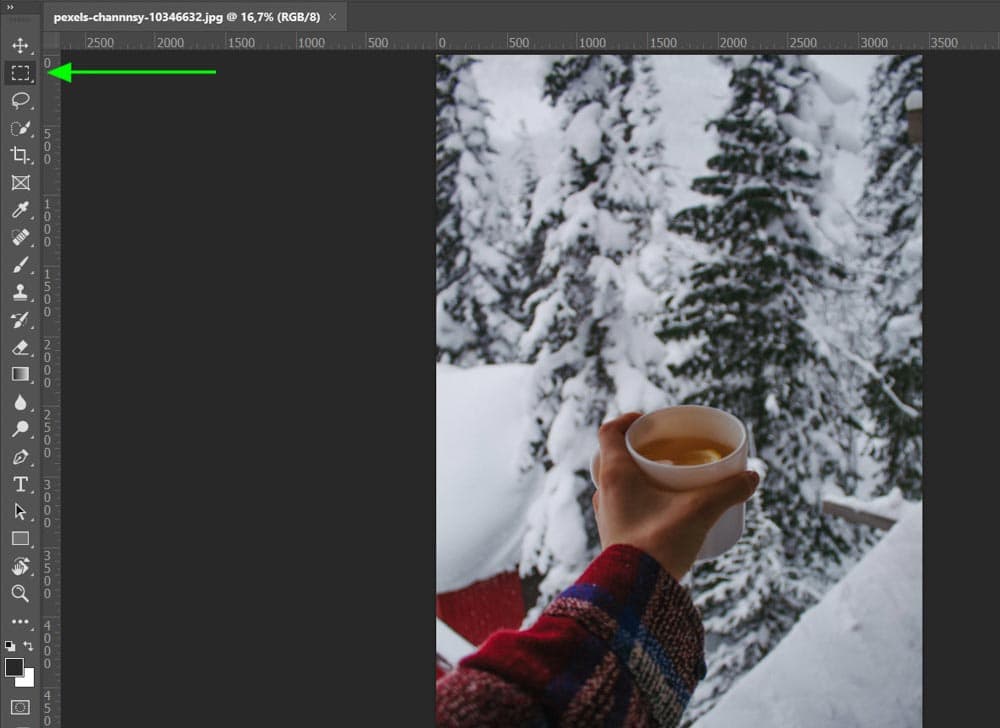
The first method allows you to zoom in or out on specific spots of your image by clicking on an area of the image. To use the zoom tool, select the icon from the toolbar or press Z.


The zoom tool is set to zoom in by default which is shown by the plus sign inside the magnifying glass icon. Move your cursor onto your image and click on the area you want to zoom in on.
Click on the image as many times as you want to keep zooming in. You can also click and hold to start a continuous zoom until you release to stop the zoom.


To zoom out, select the magnifying glass icon with the minus sign in the middle from the options bar. Click anywhere on the image to zoom out, clicking as many times as needed.
You can also hold in Alt (Windows) or Option (Mac) while clicking on the image to zoom out when the zoom-in option is selected.
![]()
![]()
The zoom tool gives you the option to zoom across all the windows you have open in Photoshop. Each image will zoom in the same spot. To use this function, select the checkbox next to “Zoom All Windows”.
![]()
![]()
If you select the “Scrubby Zoom” box, you can click on an area of the image and use your trackpad or scroll wheel on your mouse to zoom in and out.
![]()
![]()
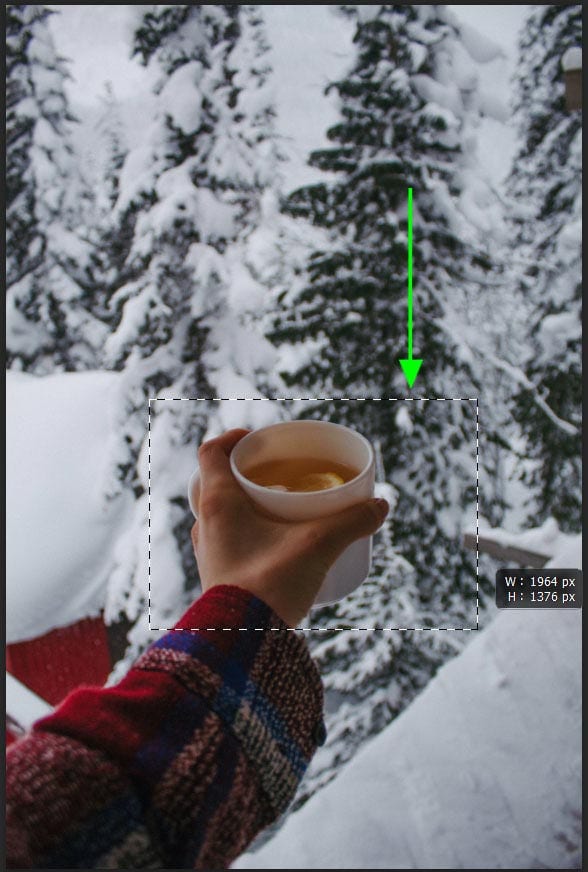
When the “Scrubby Zoom” box is deselected, you can select an area to zoom into your image by clicking and dragging on the image. A rectangular box will appear to show where you want the image to zoom in.


When the zoom tool is selected, the options bar shows three quick zoom buttons: “100%”, “Fit Screen”, and “Fill Screen”.
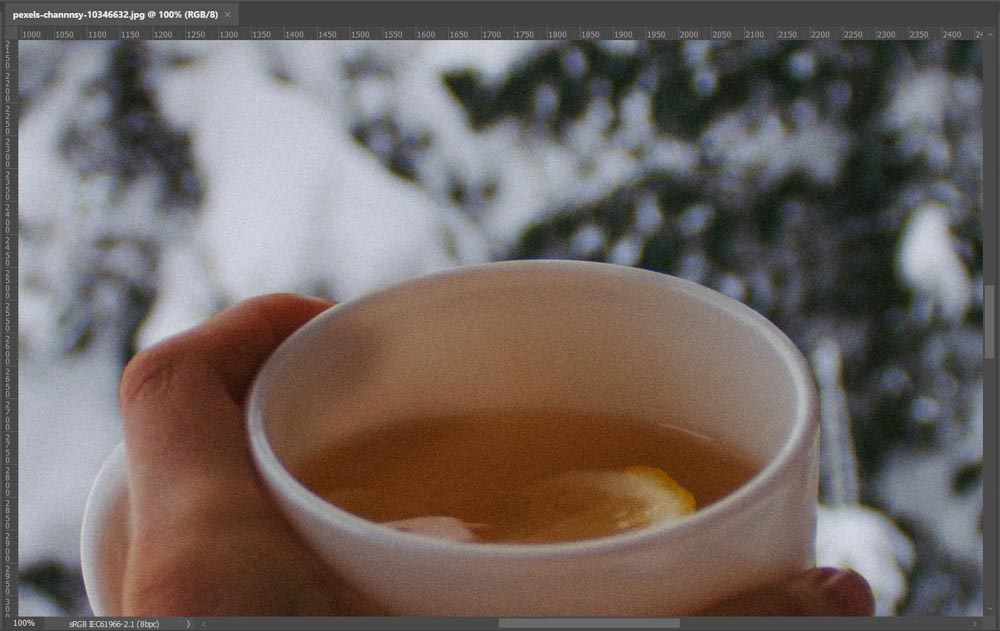
– 100% View Mode
Clicking on 100% will automatically zoom the image to 100% which means that each pixel takes up one pixel size on the screen. Once zoomed in at 100%, you can see the full details of the image. This zoom also allows you to see how clear your image will be when printed at full size.
![]()
![]()

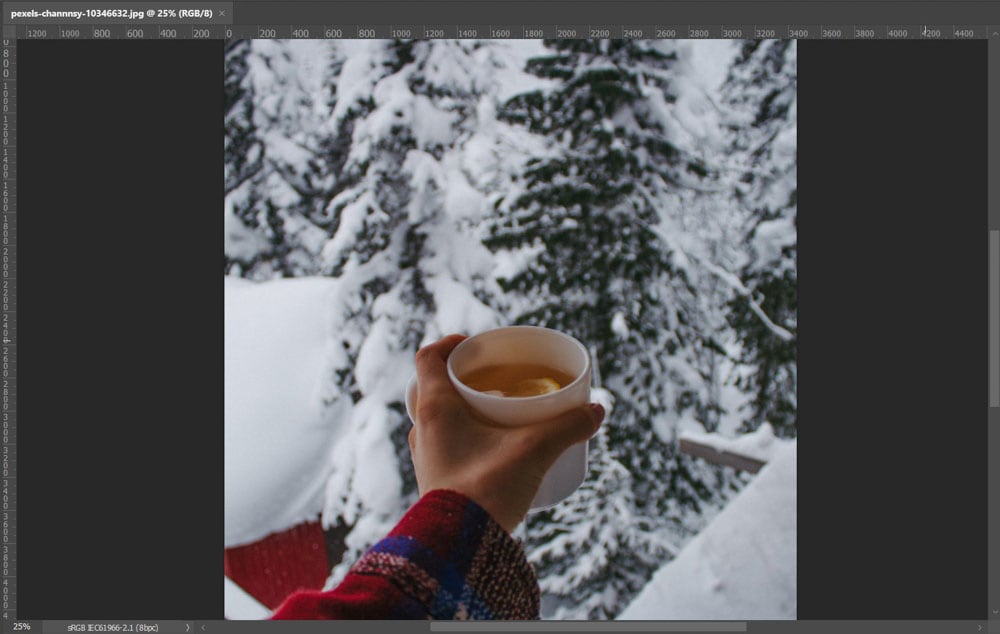
– Fit Screen View Mode
Clicking on Fit Screen zooms the image to a value that allows you to see the entire image within the window. This means that no edges will be cut off and the whole image is visible. This is the default view for images when opened in Photoshop.
![]()
![]()


– The Fill Screen View Mode
When selecting the Fill Screen option, the image will zoom in to fit the entire window. Depending on your image size, it will likely cut off areas of the image.
![]()
![]()
2. The Percentage Bar
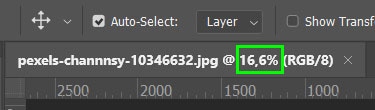
Photoshop portrays the zoom level at all times in two spots. Firstly, on the document tab at the top of the window. Secondly at the bottom left of the window.

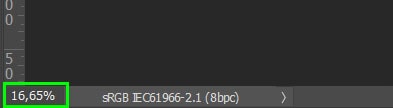

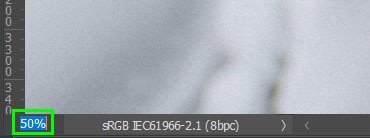
The bottom percentage can be changed to zoom in or out of the image. Click on the percentage and type in a new percentage and hit Enter (Windows) or Return (Mac). The image will automatically zoom to that percent giving you the option to zoom to precise levels.


If you want to easily change the zoom level, hold in Shift when you press Enter (Windows) or Return (Mac). The percentage will stay selected, so you can simply re-type a figure to get the right zoom level.

The scrubby slider also works with the percentage method. To use the scrubby slider, hold in Control (Windows) or Command (Mac) while clicking and holding on the percentage. Move the cursor left and right to zoom in and out. Hold in Shift to zoom in or out faster.
3. The View Menu
You can also zoom in and out using the view menu. Navigate to View and select zoom in or zoom out. This will only zoom in or out once each time you select it.
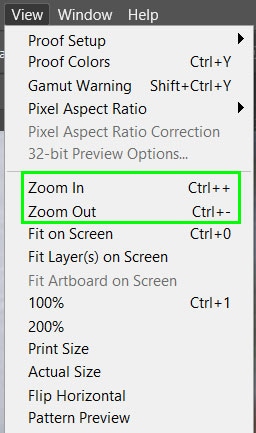

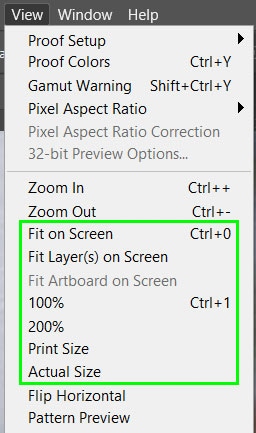
You can also choose other zoom options such as Fit on Screen, Fit Layer(s) on Screen, 100%, 200%, Print Size, or Actual Size from the view menu. Each option will give a different zoom level.

4. The Navigator Panel
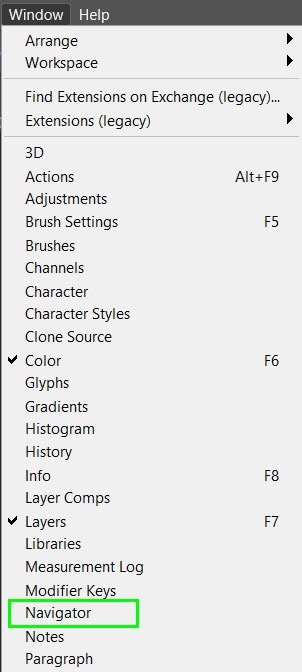
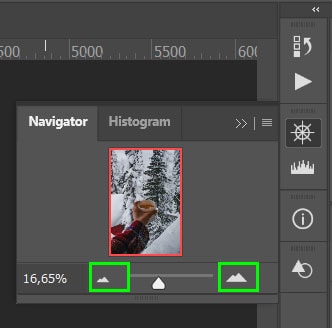
The navigator panel is another way to access the zoom feature. To use the navigator panel click on Window > Navigator. The panel will appear on the right-hand side of the workspace.


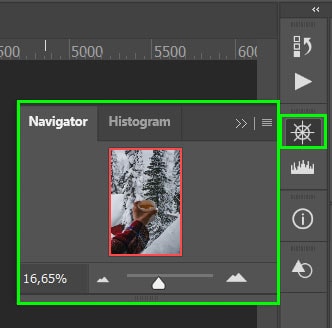
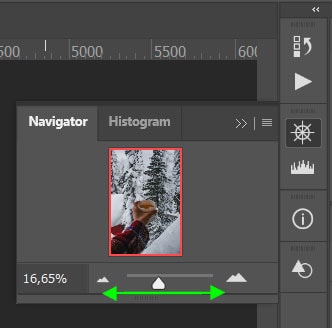
Use the slider to zoom in or out on the image. You can also press the small or large mountain icons to zoom in and out.


5. Using Keyboard Shortcuts To Zoom
There are multiple keyboard shortcuts to access the zoom tool. The one you choose will depend on what tool you are using or what is easiest for you. Being able to access or use the tool in different ways allows you to use the tool without disrupting your workflow.
Zoom In And Out
To zoom in as you would when using the zoom tool press Control + + (Windows) or Command + + (Mac). To zoom out press Control + – (Windows) or Command + – (Mac).
Fit To Screen And 100%
To fit the image to the screen press Control + 0 (Windows) or Command + 0 (mac). To zoom in to 100% press Control + 1 (Windows) or Command + 1 (Mac).
When Using Another Tool
When you are using another tool you can quickly zoom in by holding in Control + Space (Windows) or Command + Space. When you click on the image it will zoom in and when you let go, your previous tool will be in play again.

To zoom out with this method hold in Control + Alt + Space (Windows) or Option + Space (Mac), while clicking on the image.
When using another tool, you can also hold in Alt (Windows) or Option (Mac) while using the mouse wheel to scroll. This will also zoom in and out without affecting the tool you are using to quicken your workflow.
How To Navigate A Document In Photoshop
Once an image is zoomed in the edges may be cut off on the side of the window. There are a few ways to navigate the image using the hand tool and shortcuts.
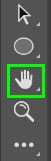
To use the hand tool, select it from the toolbar or press H. Click and drag your image to move it around.

To temporarily access the hand tool while using another tool, hold down the spacebar while clicking and dragging the image around. This allows you to easily move around the image without needing to change tools.
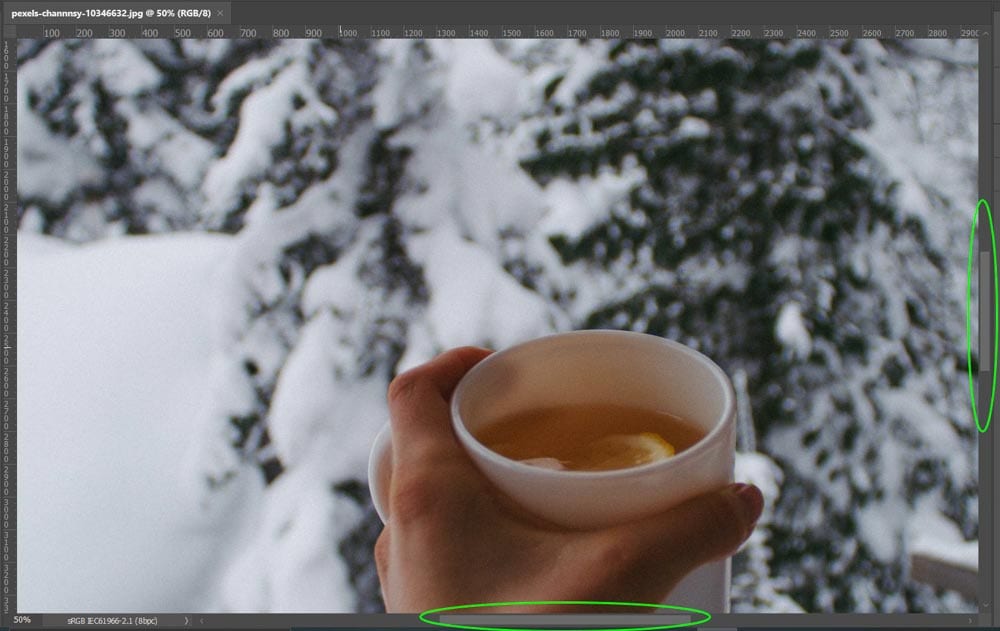
At any time in your workflow, you can also use the scroll bars on the right and bottom of the window. Click on a bar and drag it up, down, left, or right to move around the image.

If you are using a mouse, you can use the scroll wheel to quickly move up or down on the image. If you want to move the image left or right, hold in Control (Windows) or Command (Mac) while scrolling up or down.
If you are using a trackpad, you can use two fingers to swipe up, down, left, or right to move the image around.
So whether you are using the zoom tool or keyboard shortcuts, there are a ton of ways to zoom in and out in Photoshop. Then with the help of the space bar, you can easily navigate your document even if you didn’t zoom into the perfect spot from the start.
Happy Editing!